Tips Tricks for Furniture and Room Deriving,
Advanced Seamless Texturing & Image Corrections:
Photoshop Tools To be used in this lesson
All the tools we used in the last tutorial plus…
Gradients
Transform
Vocabulary as used in this section
Perspective: when the lines of an image all converge to a vanishing point (good for art, bad for texture making)
Intro
Alright we have the basic seamless making skills down and we’ve practiced for hours and hours with them (just humor me and nod your heads and pretend you did, lol). So now you can make pretty much anything seamless, but then you come across some images that would be great as seamless textures except for some issue with the original image so that no matter what you do to it it still looks like poo. So in this installment we will deal with….
-Lighting corrections.
-Rotational Corrections
No matter how good a photographer is it is almost next to impossible to get a perfect image all the time. Whether it is issues with the sun, dealing with reflections, or its just a physical impossibility to get square to the surface to be captured, all images will most likely need some sort of correction before you can easily use them. Whether you are going to be taking the images yourself or if you are using images form a resource you will come across these issues all the time.
When we do Photography Week we will go into these issues in more detail and how to minimize the amount of post production you will need to do. I think if we work on image correction first you will have a better understanding of what is needed for good texture photography so I’m thinking its best do this image correction lesson before we learn how to take the pictures.
Lighting Gradient Corrections
Here is the technique I use when dealing with an image that the lighting is not even across the surface. There are other methods but this one woks best for me.
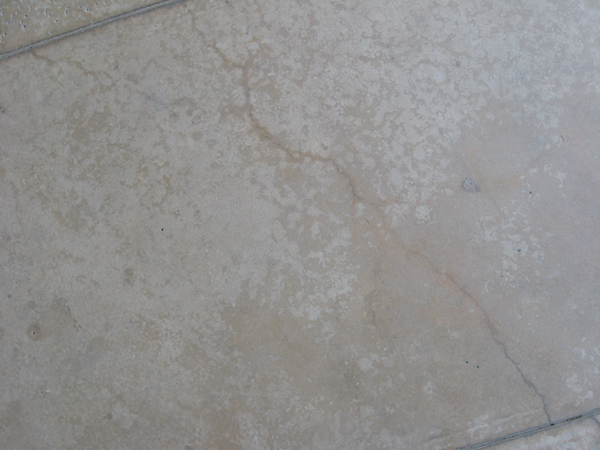
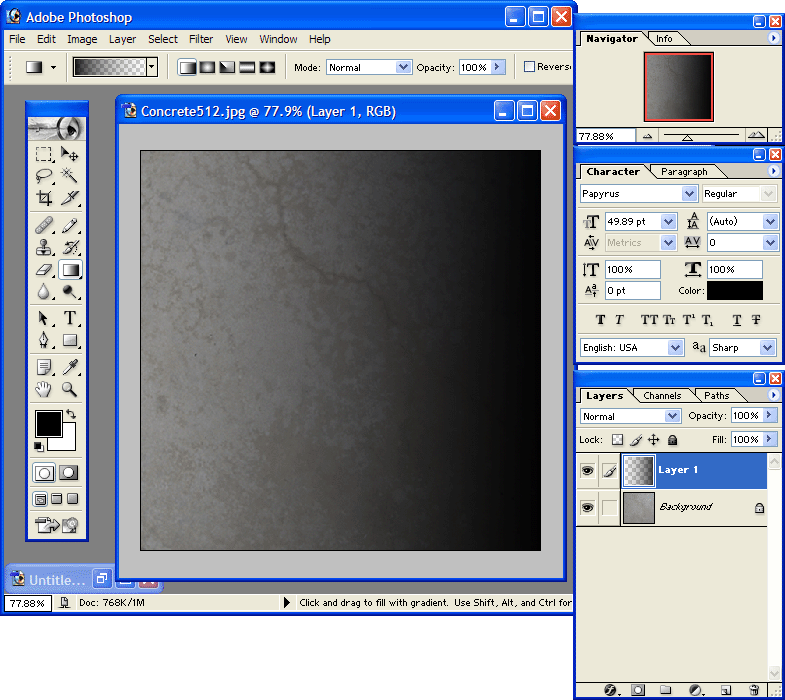
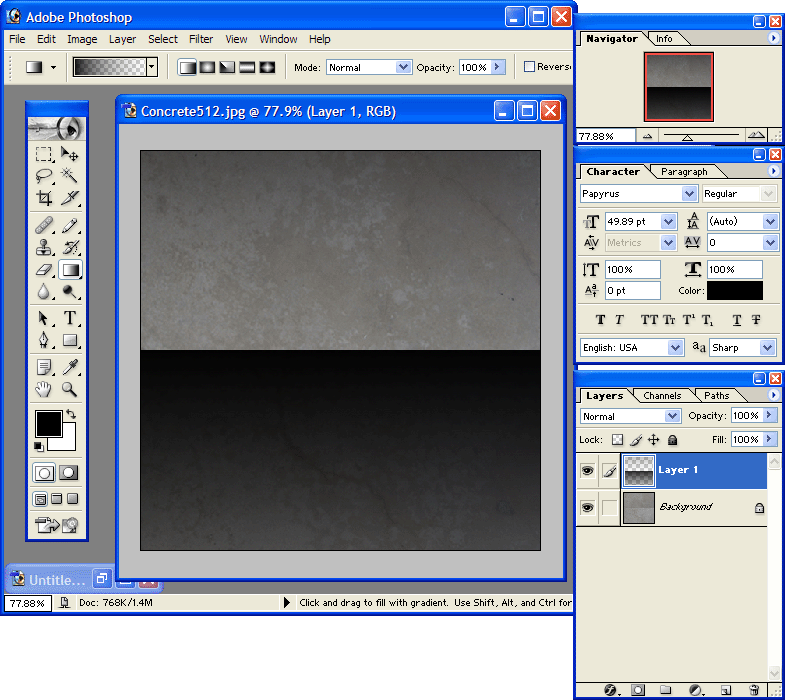
Here is an image I took of some concrete.
At first it looks like a great photo for making a texture with, but once you crop it and offset it you will see that the sun is not evenly lighting the surface.
As it is now this image would make a terrible seamless texture even if I do make is seamless…
…the repeat will be come glaringly obvious when in use…

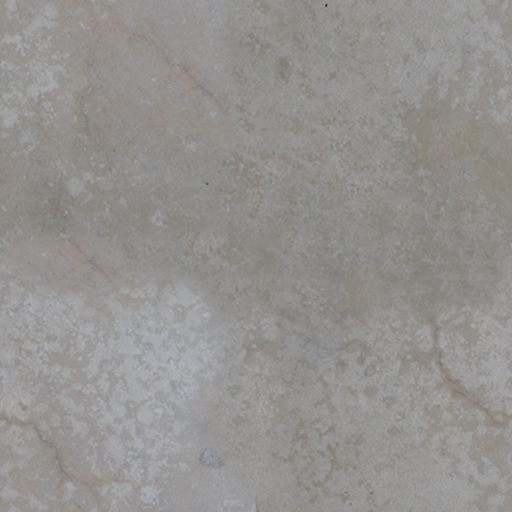
…but with a little image correction we can fix it!
Go ahead and save this cropped and resized image of the photo to your computer and open it up in Photoshop.
Play with the offset and you will see how the image fades from one side to the other. Not good for a seamless effect. To counter the lighting of the image we are going to use a gradient layer to counter that shading to make it disappear.
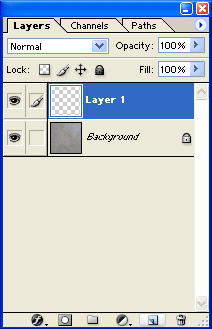
Make a new layer
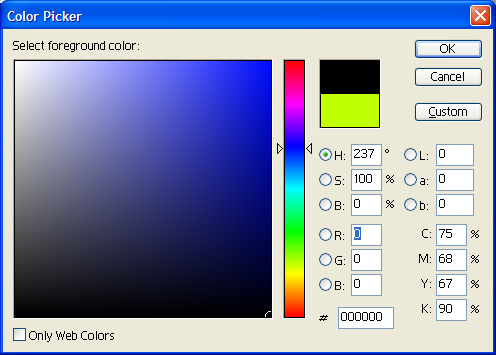
Go to your Color Picker and pick black.
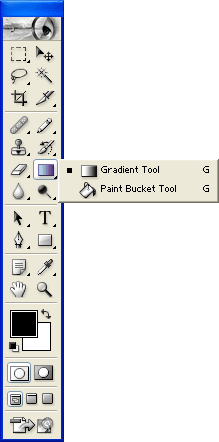
Pick the Gradient tool (it may be hiding under the paint bucket)
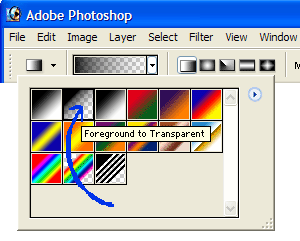
Now up top use the drop down and select the ‘foreground to transparent’ option (the solid will be the color selected in the pallet so it should be black)
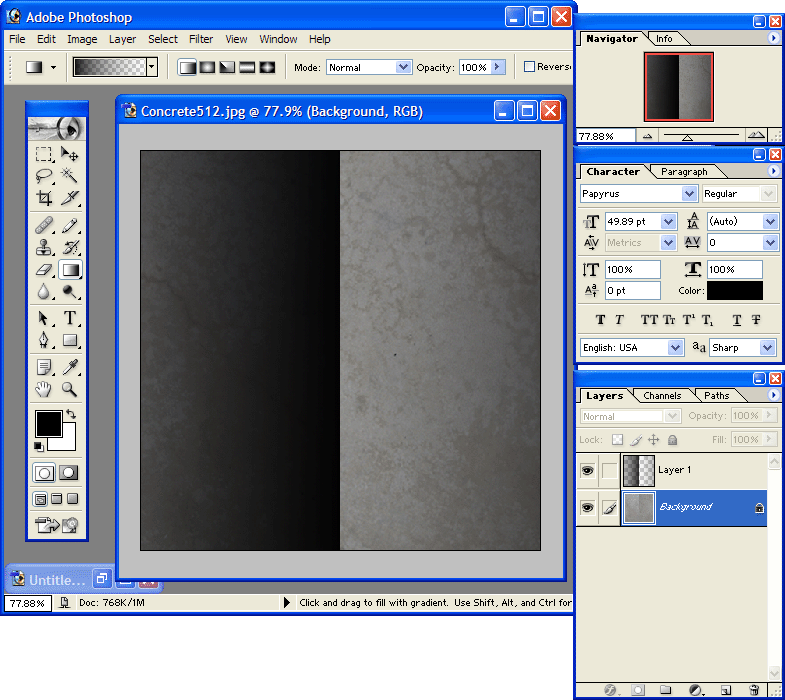
If your not already Zoom out of the image so you can see the whole thing then Left Click outside the right side of the canvas hold down the mouse button and drag the curser across the image in the opposite direction as the shadow. The guide line should be perfectly horizontal.
Release the mouse button and the gradient will render.
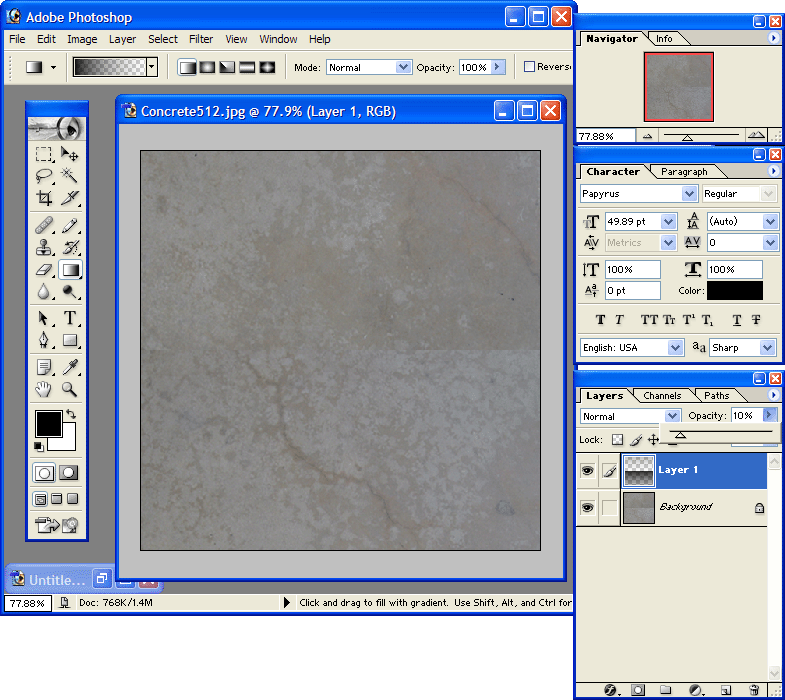
Now go to the offset tool and offset the image layer AND the gradient layer horizontally by 256.
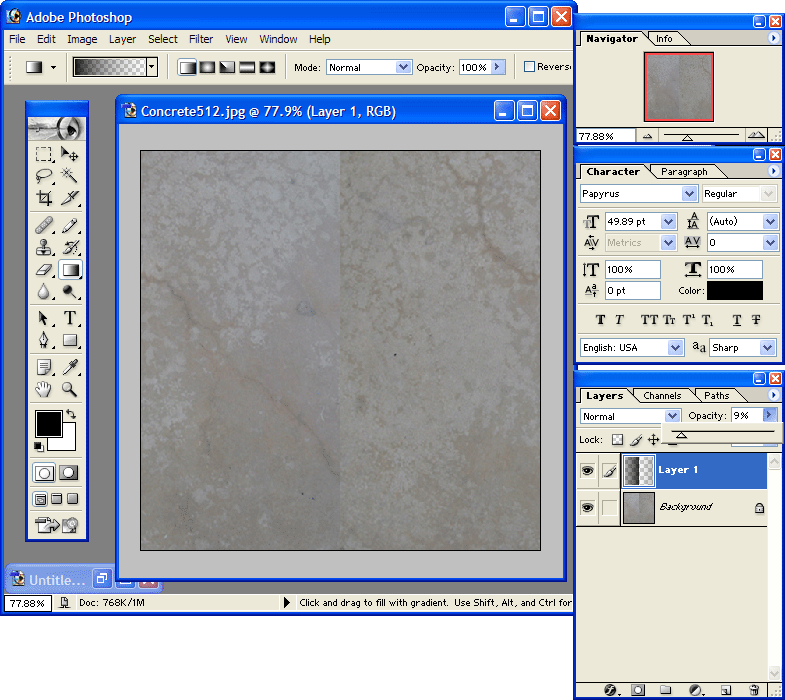
Select the gradient layer and then in the layers windows use the opacity slider and drop down the intensity of the gradient layer until it matches the brightness of the darker side if the image. When you are as close as you can get merge the two layers into one.
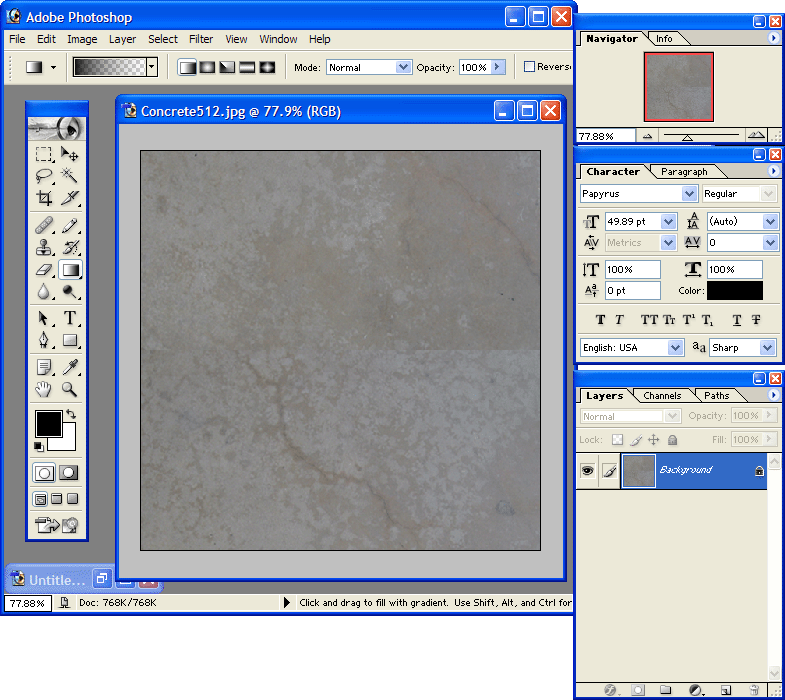
Repeat the process in the other direction…
Add gradient layer
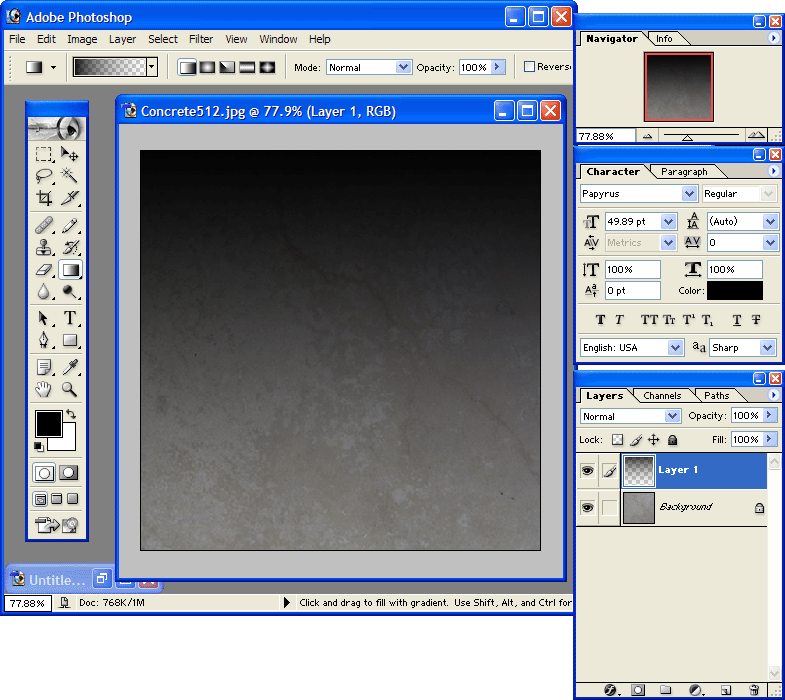
Offset
Adjsut Opacity
Flatten
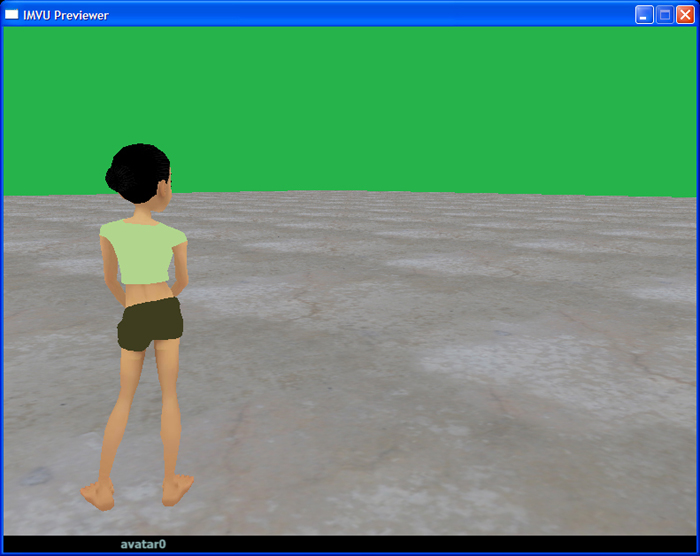
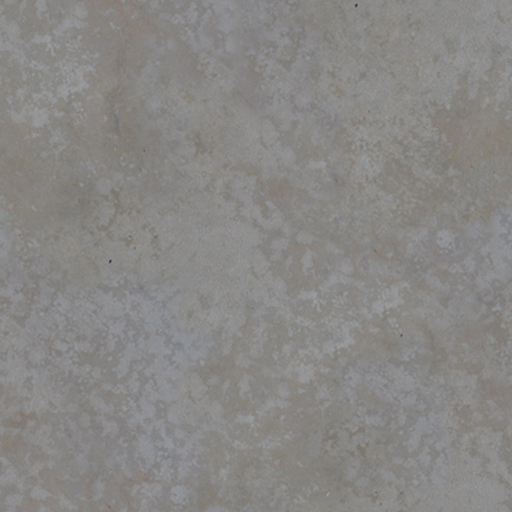
Now you can make the image seamless by using either the clone stamp or erasing method and you won’t be fighting the lighting!
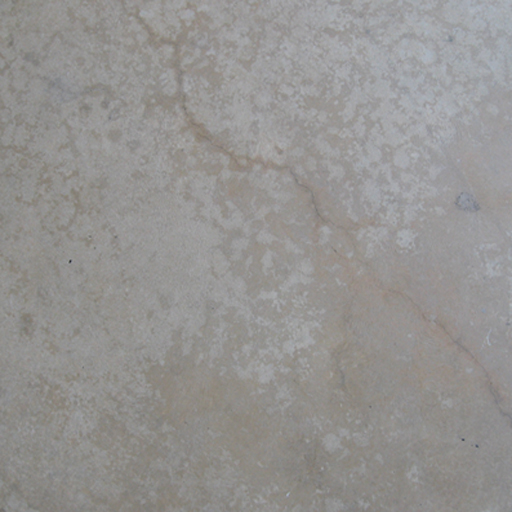
Check out the Difference
Original
Corrected
While most folks may not bother to go this extra step, if you are looking for a more professional and polished looking product it is these little things that make a HUGE difference.
Rotational Corrections
Your probably never going to take an image that is truly level, the camera wont be level, the subject may not be level. If all that is wrong with the image is that it has a slight rotation that is a pretty easy fix.
Let’s work on a background image as this is the kind of thing that a lot of outdoor rooms need and a background with a seam is a big illusion breaker NO NO! Just say no to seams!
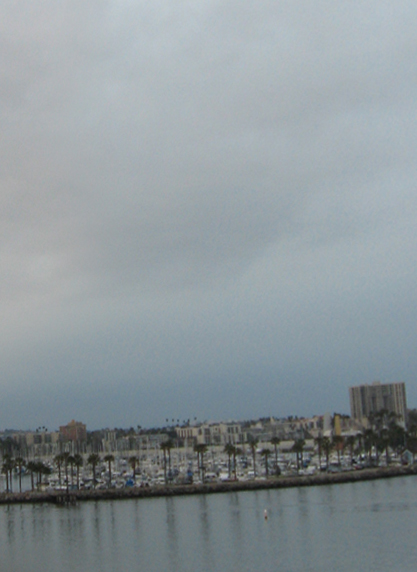
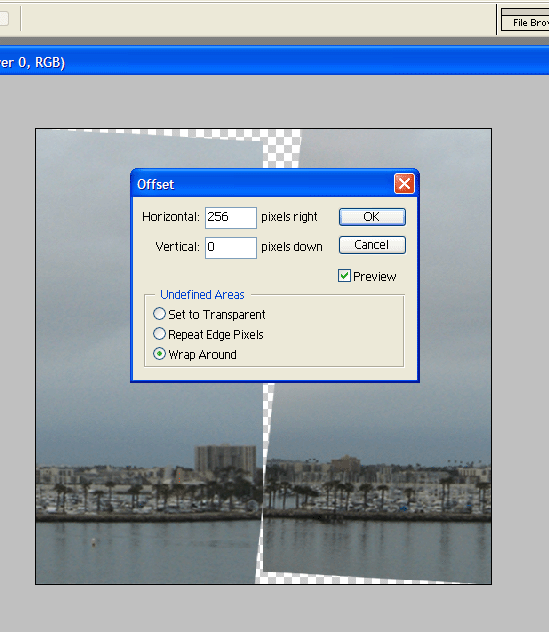
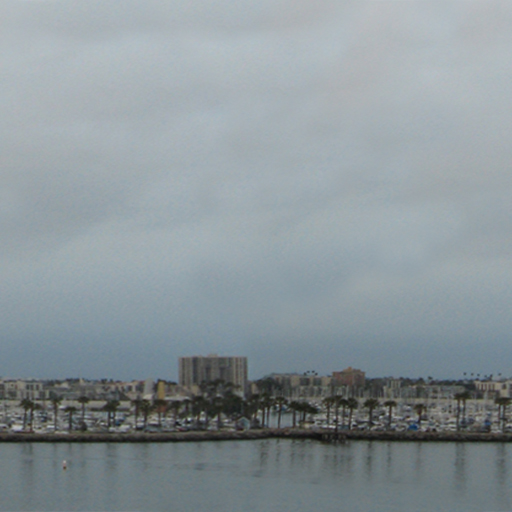
Okay, say hellooo to Long Beach California! Not the best shot, my cheepo camera hates dusk so its a little grainy, I’d do a bit more to it if I was going to actually use it on a product but it will work to illustrate this section.
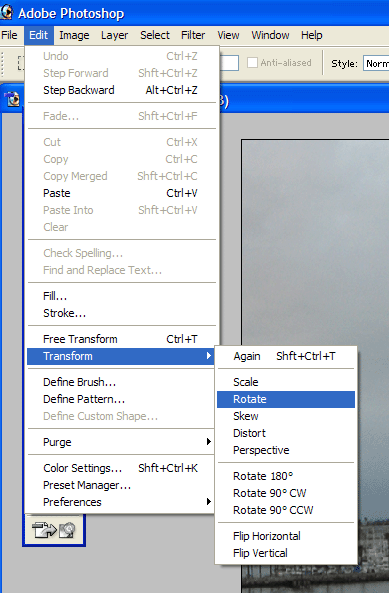
First off you will need to unlock the background layer so you can fully edit it. Do this by double clicking on the layer in the layers window, a new layer dialog box will open up, just hit Okay and the background layer will now be unlocked.
Now go to Edit/Transform/Rotate and you will be able to spin the layer around.
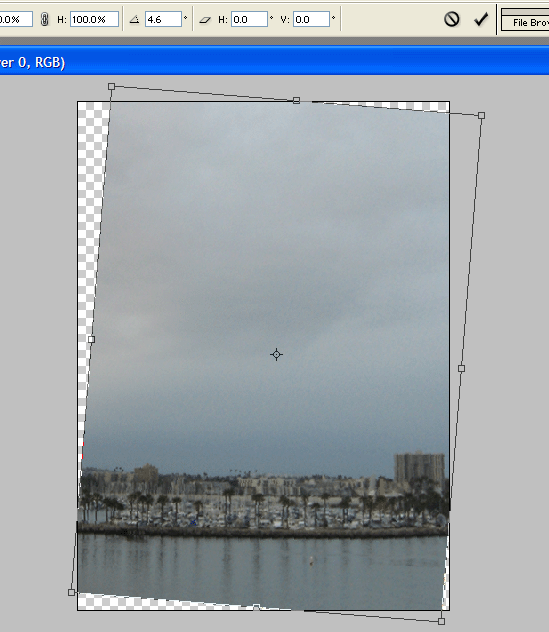
Make your rotational adjustment and the click the check up top to accept the edit.
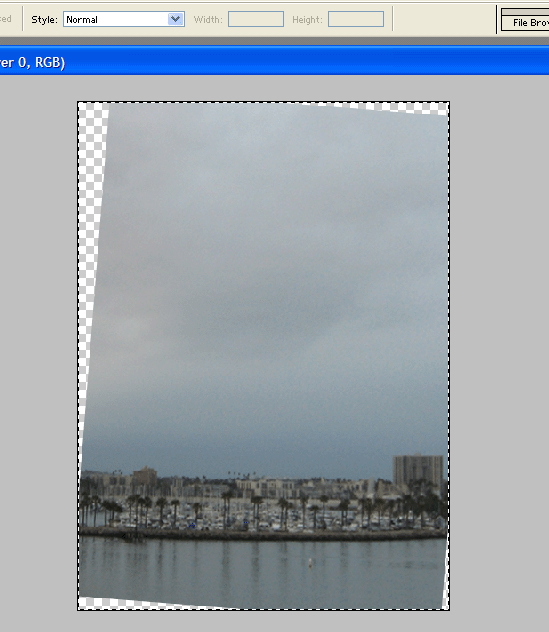
Once you are level you will need to crop the image as there are parts you can’t see now overhanging the canvas. Select the whole image with the marquee tool then Image/Crop
Resize the image to 512×512 then Offset the image in the horizontal direction 256 pixels. (you won’t have to do the vertical direction for a backdrop texture.)
Now you can then make the image seamless. For this image I am only going to use the clone stamp. The sky and water will need extra attention to make them appear even. Take your time, this one is a lot more difficult that it looks. I’d recommend zooming in real close for the dock detail and using a small brush and then zooming out for the water and sky with a bigger softer brush. You will want to flip the offset back and forth 256 pixels to make sure the sky and water are smooth.
TA DA!


![]()