How to Rufflize a Texture (Photoshop CS)
for Photoshop CS users (I’m using Photoshop CS4 here)
This is a Quickie Technique Tutorial that came from a forum request . Original Forum Thread
Open a working file. I recommend working large then resize your final work on a project by project need. 512×512 is a good minimum size
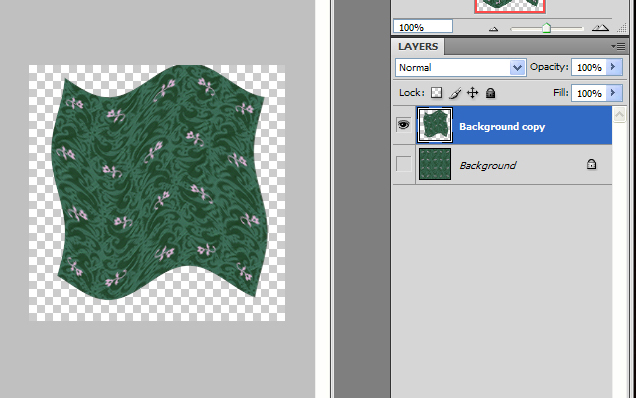
Make the base layer your source material. I leave this layer alone so I can go back to it if I need to.
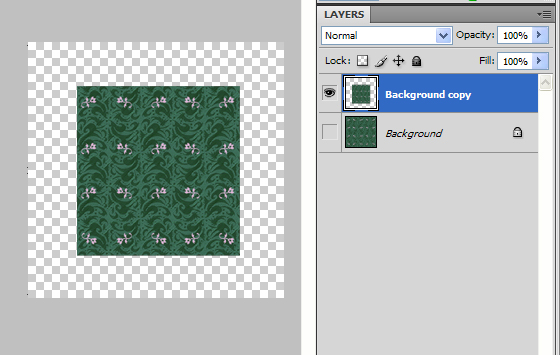
Make a Copy of that layer and then hide the original layer.
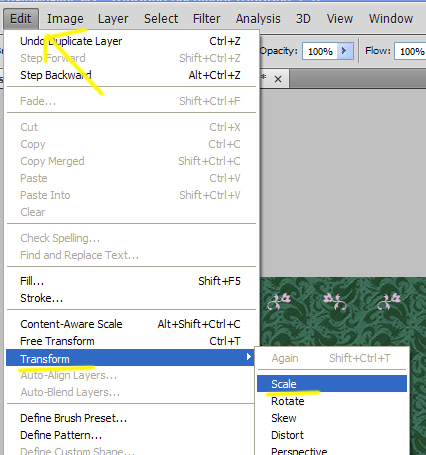
Resize the new layer using Edit/Transform/Scale so it is all inside the image space and you have room aronud it to work.
Now to ruffle it.
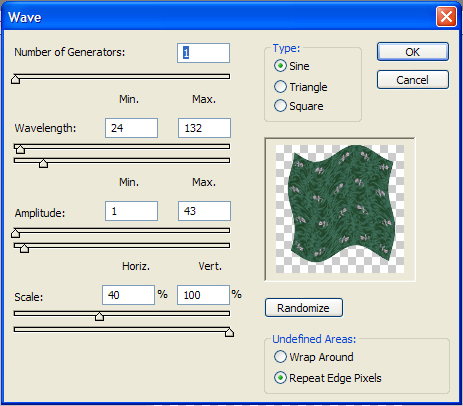
To make a fabric feel ruffled you need to distort the pattern so that it seems to flow with the ruffles. We’ll use the Wave tool.
Go to Filters/Distort/Wave and a window will pop up.
Use the Sine Wave and close to these settings to make your fabric wavy. Play with the numbers till you get the amout of wiggle you want
Now your fabric should have a nice wiggle to it, now lets add depth.
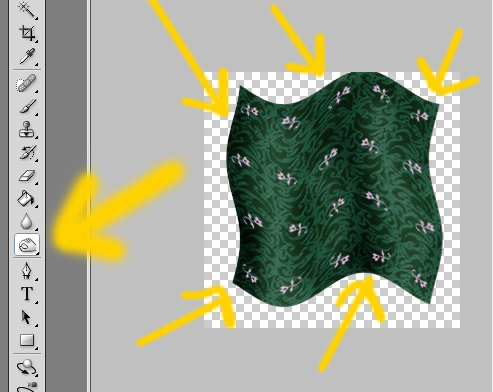
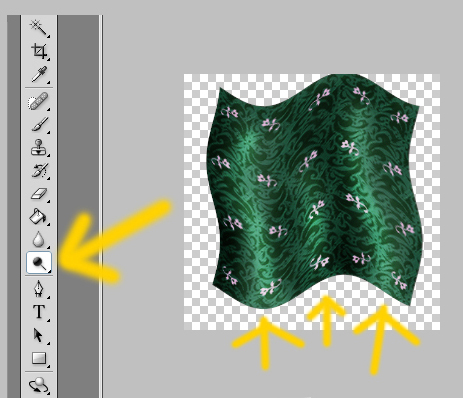
We’ll use Doge and Burn to tease out the wave we created into 3d space. (this is the artsyfartsy part so take your time and remember the undo button/CtrlZ is your friend) The amount of highlight and shadow will be dependent on the fabric and amount of fullness you want to represent. Silky fabrics will have harsher look that soft fabrics. I’m will go for a satin look so it will be bit heavy handed so you can see what I did. If I was aiming for a soft cotton I would use a much lighter touch.
Burn Darkens
Dodge Lightens
Now that were looking dimensional we will use this piece of ruffle to build a texture with.
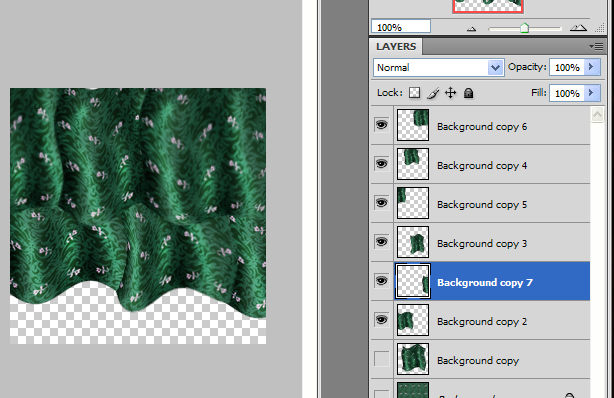
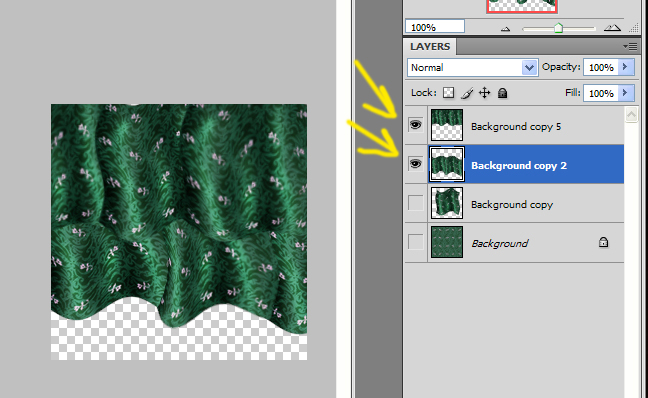
Move that layer over a bit then make a copy of it and position it along side it.
Now use Edit/Transform/Warp on the new layer and push and pull on it a bit so it nests well against the other layer and so it dosn’t look like an exact copy. Remember ruffles aren’t perfect so don’t aim for perfection.
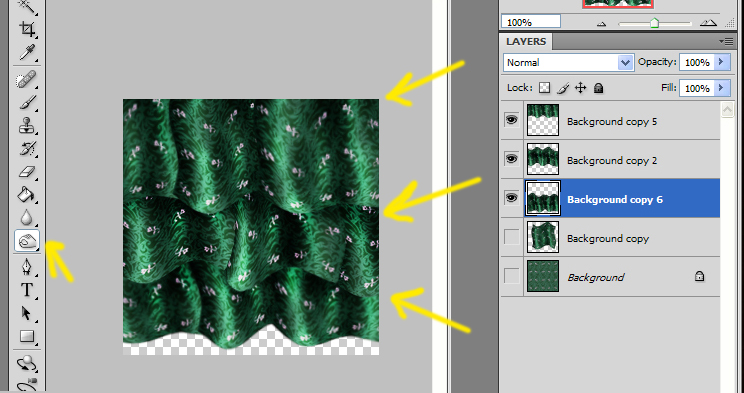
Rinse and Repeat!
Once you have your tiers built, merge each Tier into one Layer.
Do another pass with the Dodge and Burn tools to add highlight and shadow between the tiers.

Pesto Chango Ruffles!
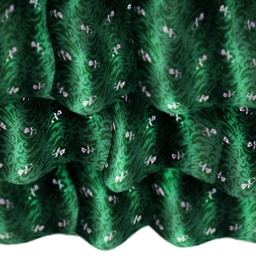
![]()